Groups are a communal social space where you can keep up to date on the latest resources as well as share your own. No one organisation or person runs a group, they are open to all. To get involved, simply join a group and start posting. If you would like us to create a new group, please email us at dhc.wellnetdorset@nhs.net.
Within groups, you will be able to:
- Post questions to other members of the group
- Post your own content, including events, articles and videos
- Comment on posts
Although the WellNet team will post some of the most popular resources from the wider site, we want to promote you as the user joining the wellbeing conversation. The below guides will take you through how to create content within WellNet.
Creating Articles
1. Select ‘Add Article’ on the ‘Add content to the group’ menu on the group page.

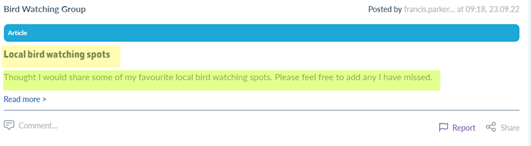
2. Enter the title and summary of the article. The summary will be the main text that appears on the group page before people enter the article. In the below example, the yellow highlighted area is the title, while the green highlighted area is the summary.
3. Once you have entered your title and summary, click on the 'Add Text only button.'
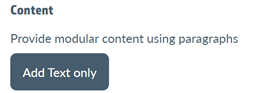
4. You will then be able to populate the text box with the information you wish to share with the group. In this space, you will be able to add bullet points as well as any hyperlinks to external sites you wish to share.

5. Once you have finished, click on the save button, and your article will be published.

Creating Events
1. Select ‘Add Events’ on the ‘Add content to the group’ menu on the group page.

2. Add the title of your event to the title box.

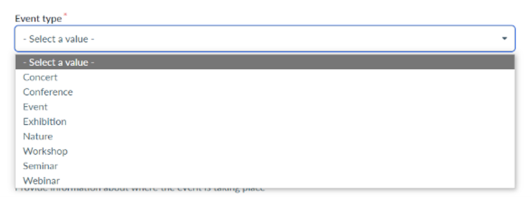
3. Select an event type from the drop-down box.
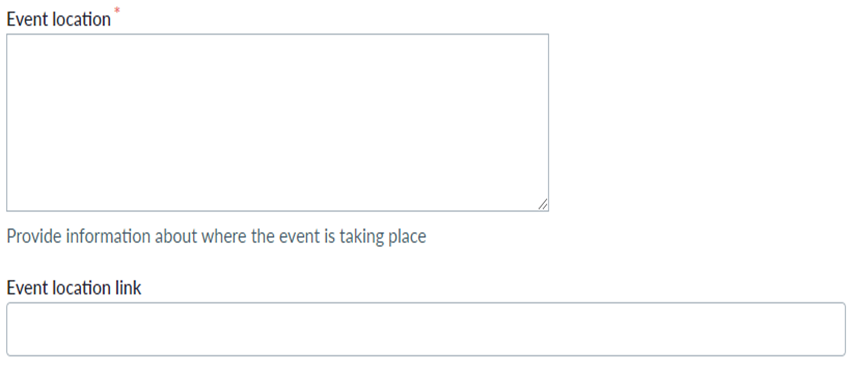
4. Enter the location of your event. If it is a webinar or online event, enter 'Online.' You can insert the meeting link in the event location link section.
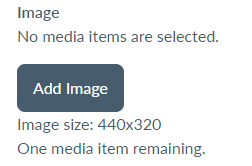
5. You can now add an image from the pre-approved list of images by selecting the ‘Add image’ button. Be aware you do not need to add a photo to publish your event.

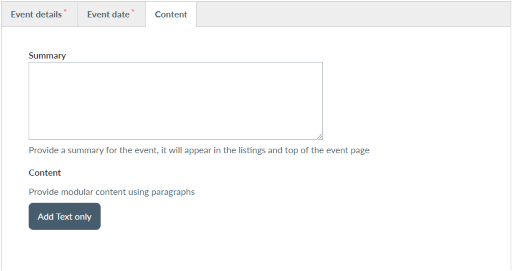
6. Next, select the ‘Event date’ tab and fill in the date and time of your event.
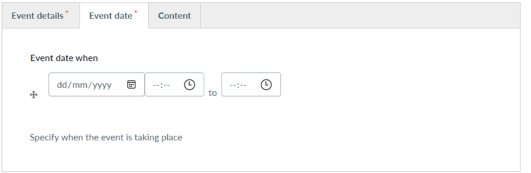
7. Then, select the Content tab. In this tab, you will be able to add a summary and add text boxes to add more information about your event.
8. Once you have completed the content page, click on save to complete your event post.

Creating Resources (videos)
1. Resources are like articles. However, they allow you to embed YouTube videos into your post. To create a resource, select ‘Add Resource’ on the ‘Add content to the group’ menu.

2. Input the title of your resource in the title box.

3. You can now add an image from the pre-approved list by clicking on the ‘Add image’ button. Be aware you do not need to add a photo to publish your resource.
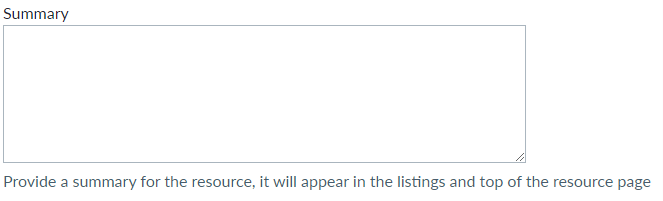
4. You can now add your summary. The summary will be the main text that appears on the group page before people enter the resource.
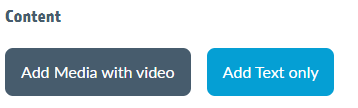
5. You will then be able to select two options: ‘Add Media with video’ to add a YouTube video and ‘Add text only.’
6. The ‘Add text only’ section will allow you to add a text box with the information you wish to share with the group. In this space, you will be able to add bullet points as well as any hyperlinks to external sites you wish to share.

7. The ‘Add Media with video’ button will allow you to embed YouTube videos into your resource. To do this, select the button. You will then be able to add a title for the video and some text to go alongside this. Be aware these are not mandatory fields, so you do not need to add a title or text if you do not want to.
8. Next, select the video layout you wish to have. We suggest you choose full width.

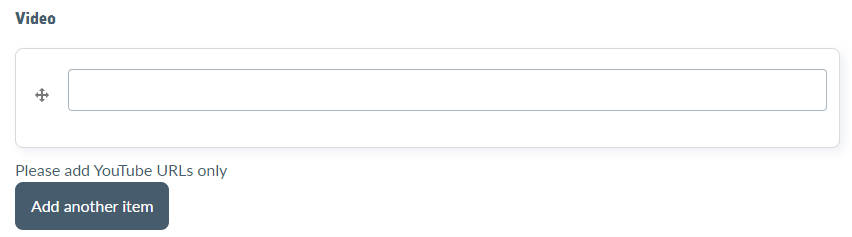
9. You will then need to add the YouTube URL to the video box below. Once you have added your first URL, you will be able to select ‘Add another item’ and add another video.
10. Once you have added your URL, press 'Save,' and you will have created your resource.